Creating Task Definitions
A Task Definition in AnchorAutomate is a reusable blueprint that defines how a specific task should be carried out. Think of it as a recipe: it outlines what needs to be done, how it should be done, and under what conditions it should be triggered.
Task definitions are central to how AnchorAutomate assigns, tracks, and executes automated work.
Steps to Create a Task Definition
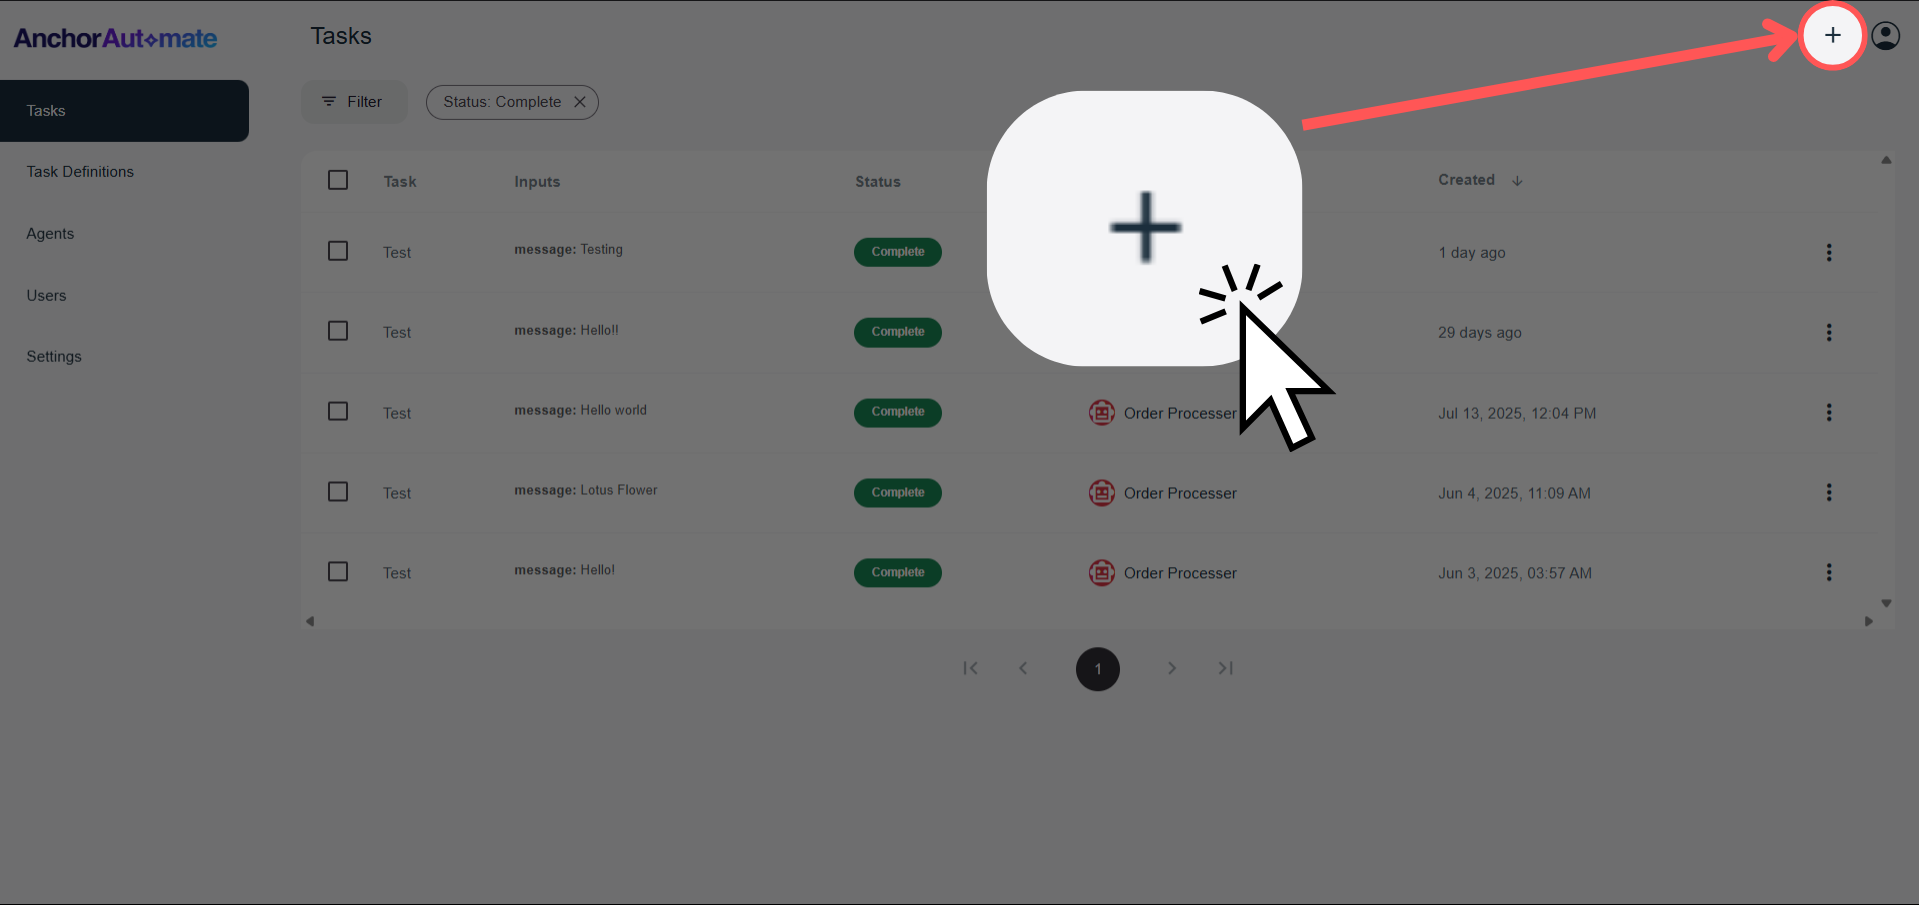
1. Click the "+" icon
From the main dashboard, navigate to the upper-right corner of the screen and click the + icon.
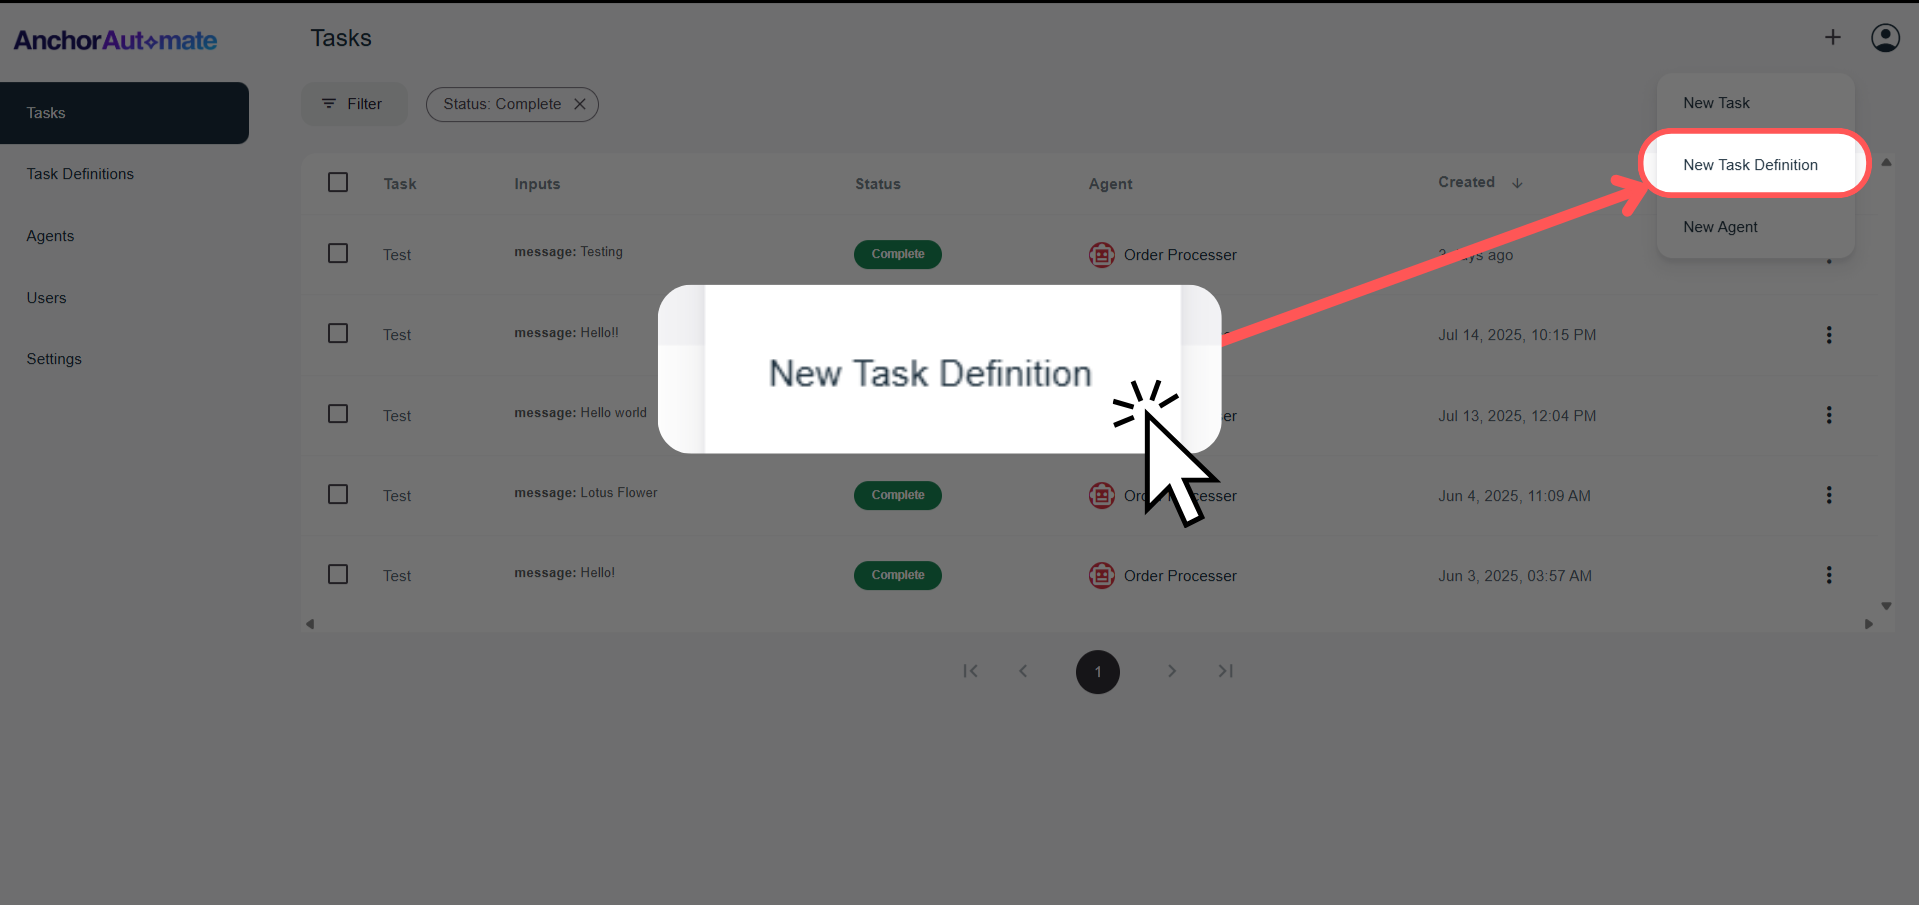
2. Select “New Task Definition”
After clicking the icon, a dropdown will appear. Select "New Task Definition" from the list.
3. Fill in the Task Definition Form
Once you're on the creation screen, you'll see four main sections:
Let’s break each down:
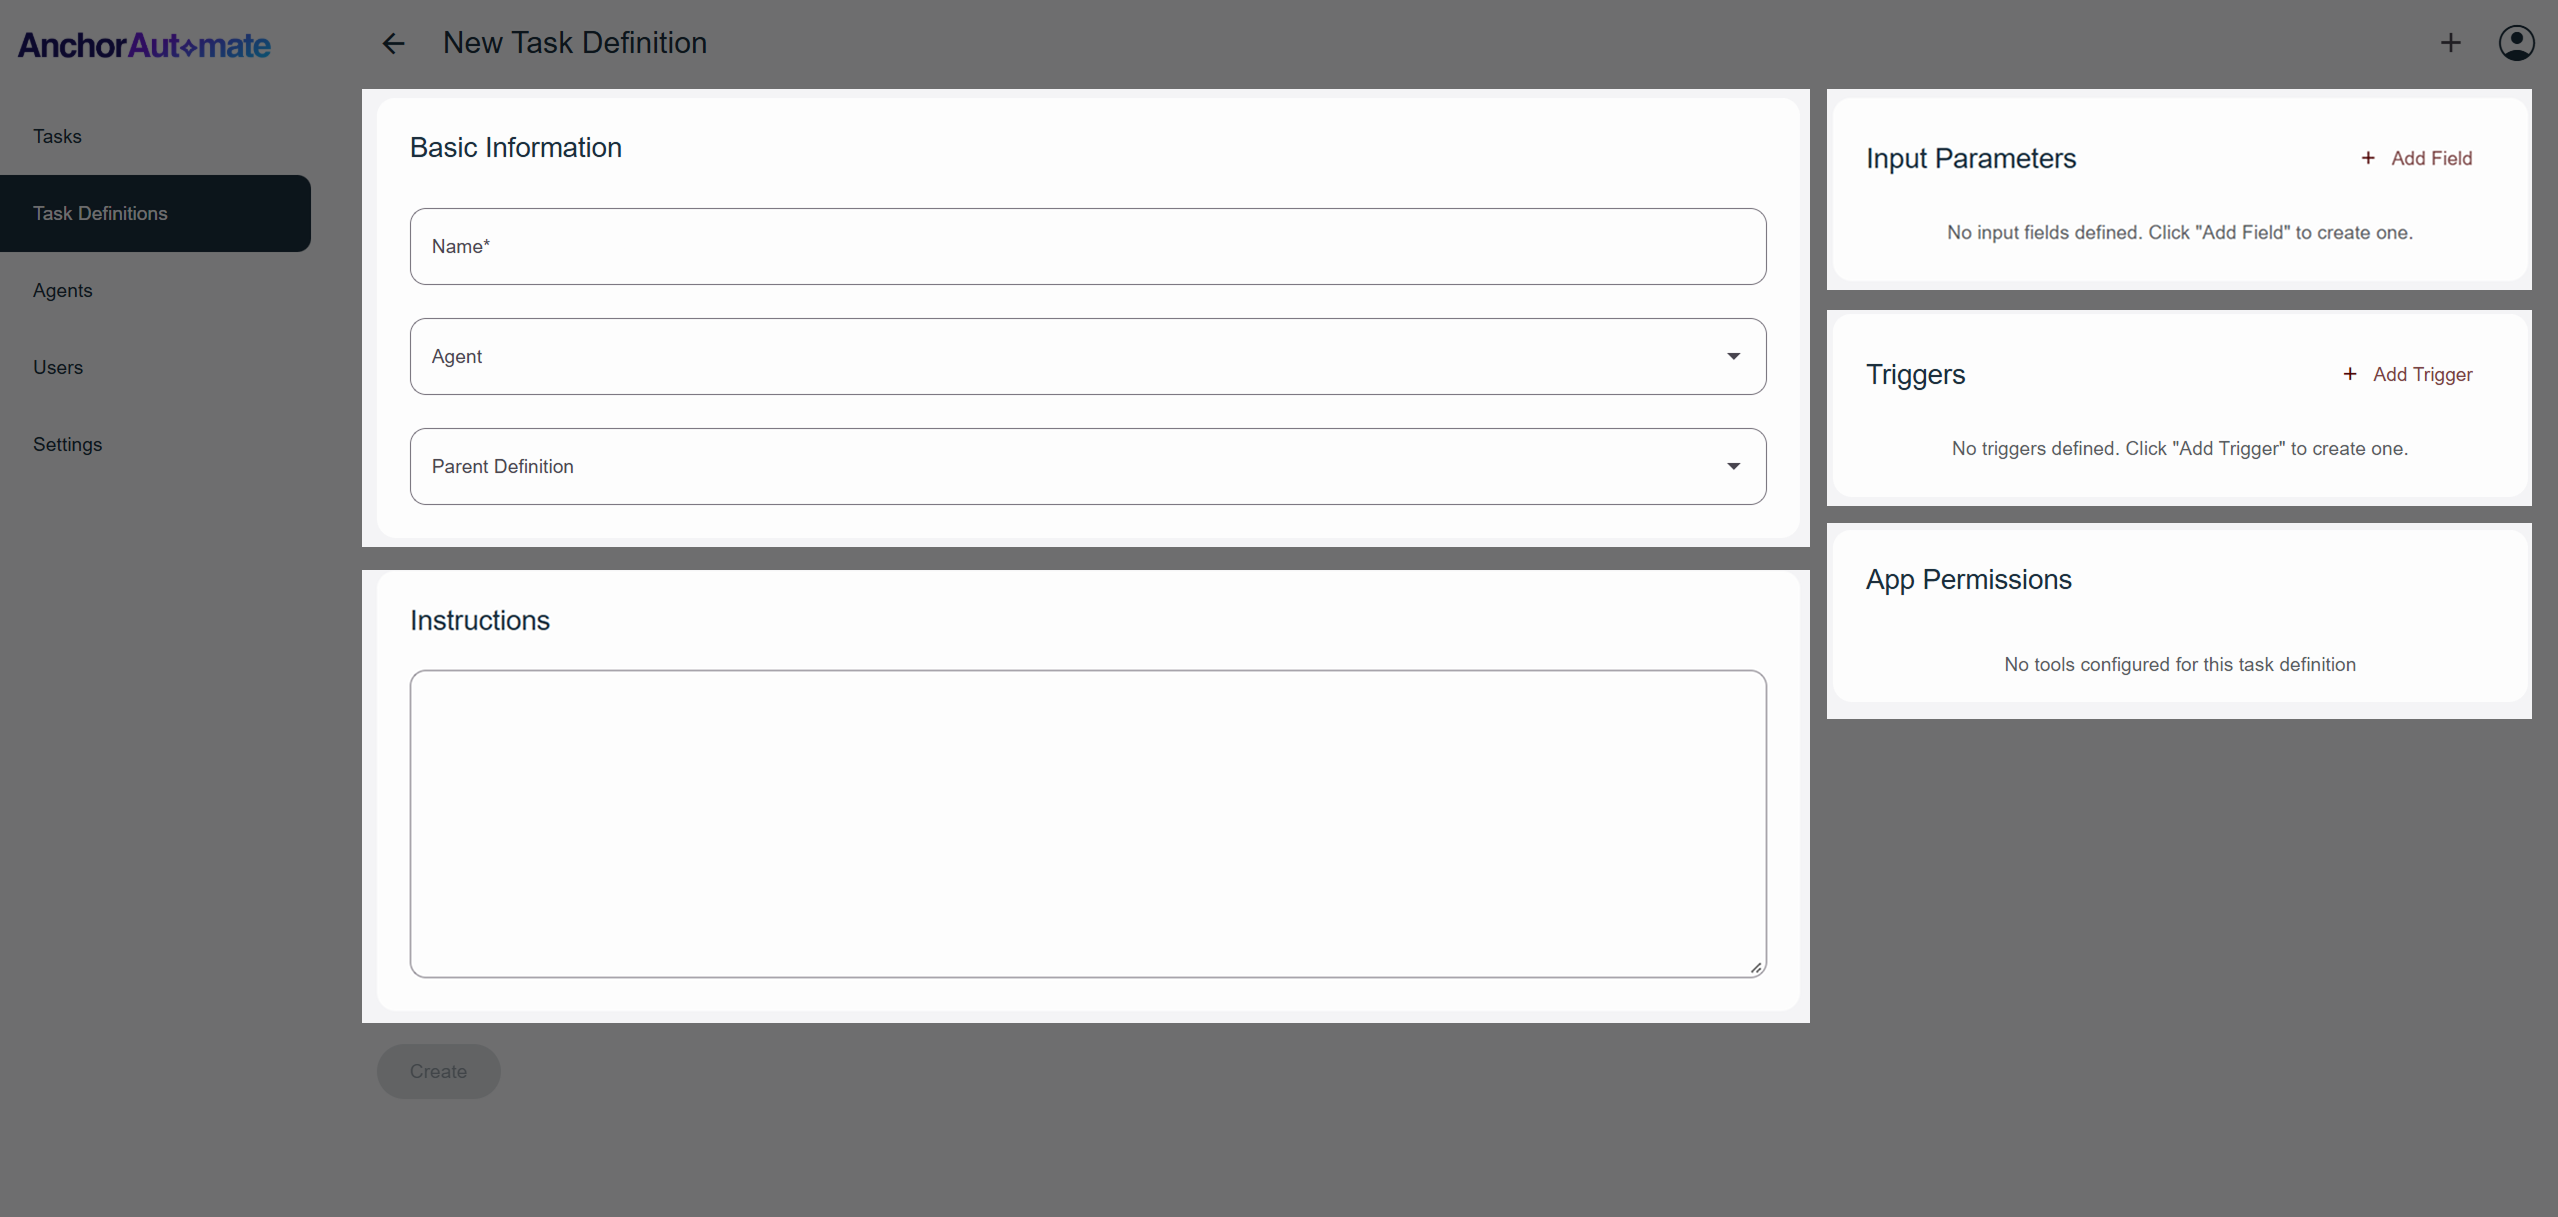
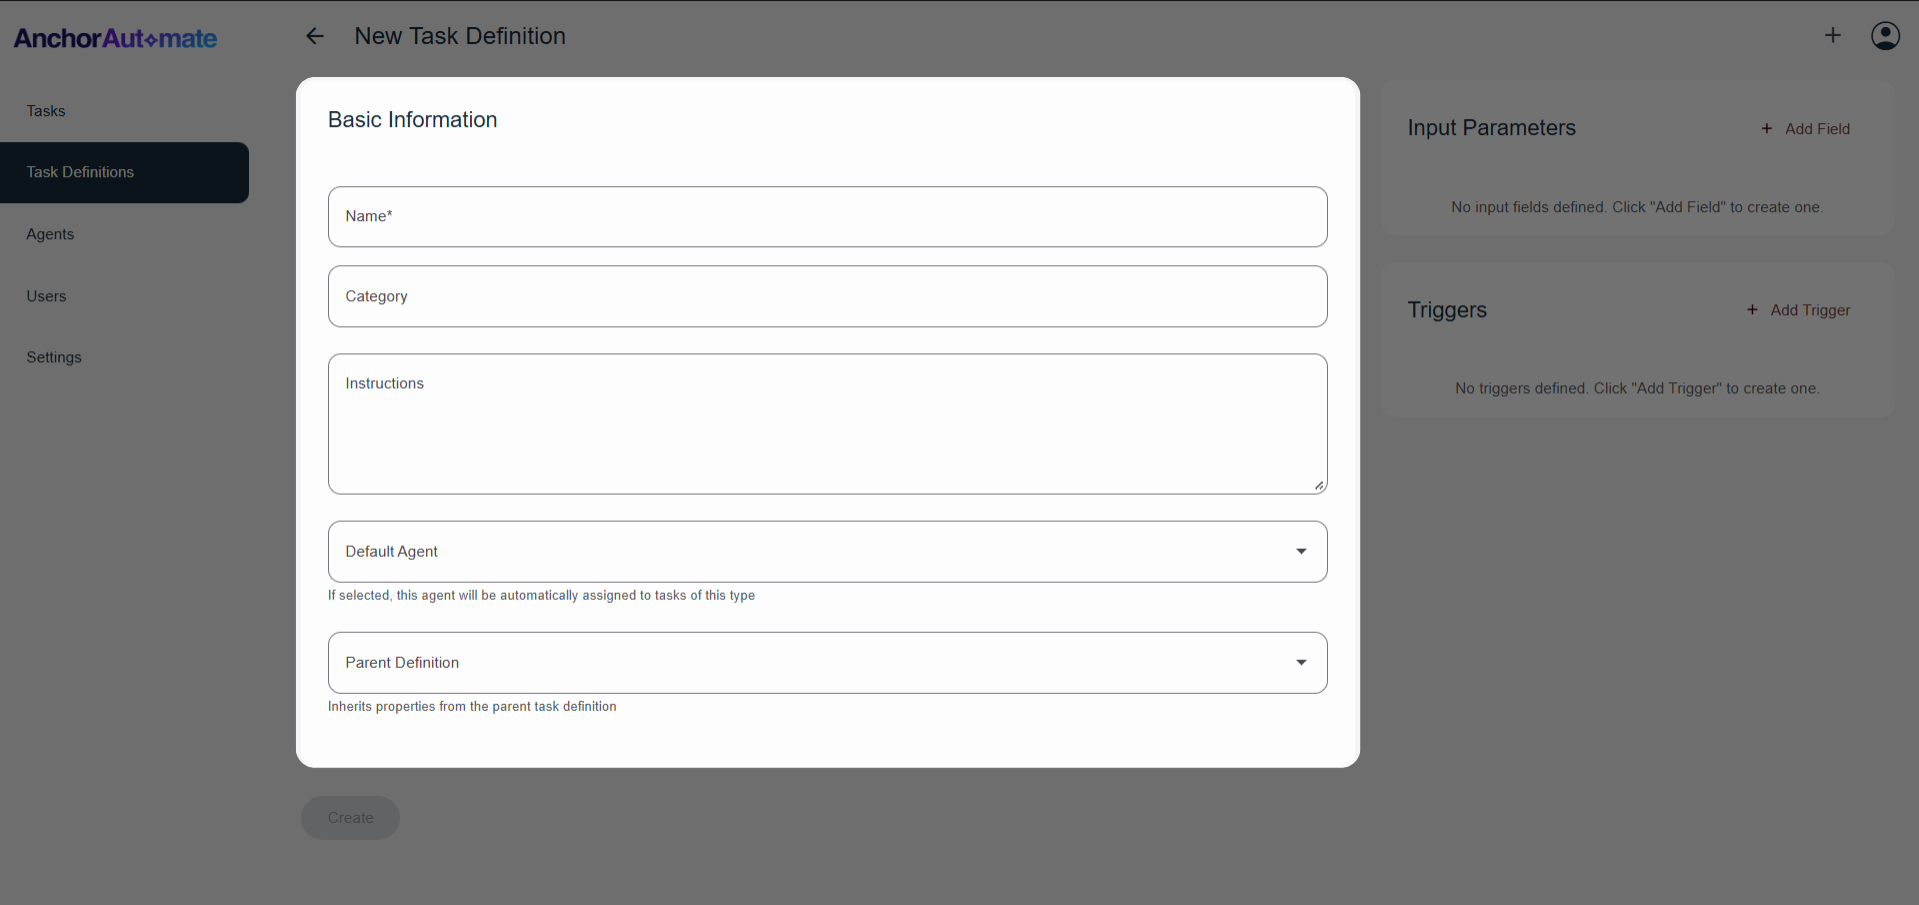
Basic Information
This section defines the core identity and behavior of your task:
- Name – The title of the task.
- Category – Used to group and organize related tasks.
- Instructions – Describes what the task is expected to do. Agents follow this to perform their job.
- Default Agent – Preassigned agent that will execute the task unless overridden.
- Parent Definition – An optional reference to another task definition that this one builds upon.
Think of a parent definition like a reference model. If your task doesn't include specific logic or inputs, it will fall back to its parent. This enables modular, reusable logic — similar to how a child in a tree structure can rely on its parent for context or defaults.
Example
| Field | Example Value | Description |
|---|---|---|
| Name | Send Follow-up Email | The name of the task definition. |
| Category | Customer Support | Helps group this task with similar ones for better organization. |
| Instructions | Send a polite follow-up email to the customer using the provided email template. | These are the step-by-step directions agents will follow. |
| Default Agent | Email Assistant | This is the agent assigned by default to perform this task. |
| Parent Definition | Parent Task Definition | This task inherits shared logic and inputs from the parent task definition. |
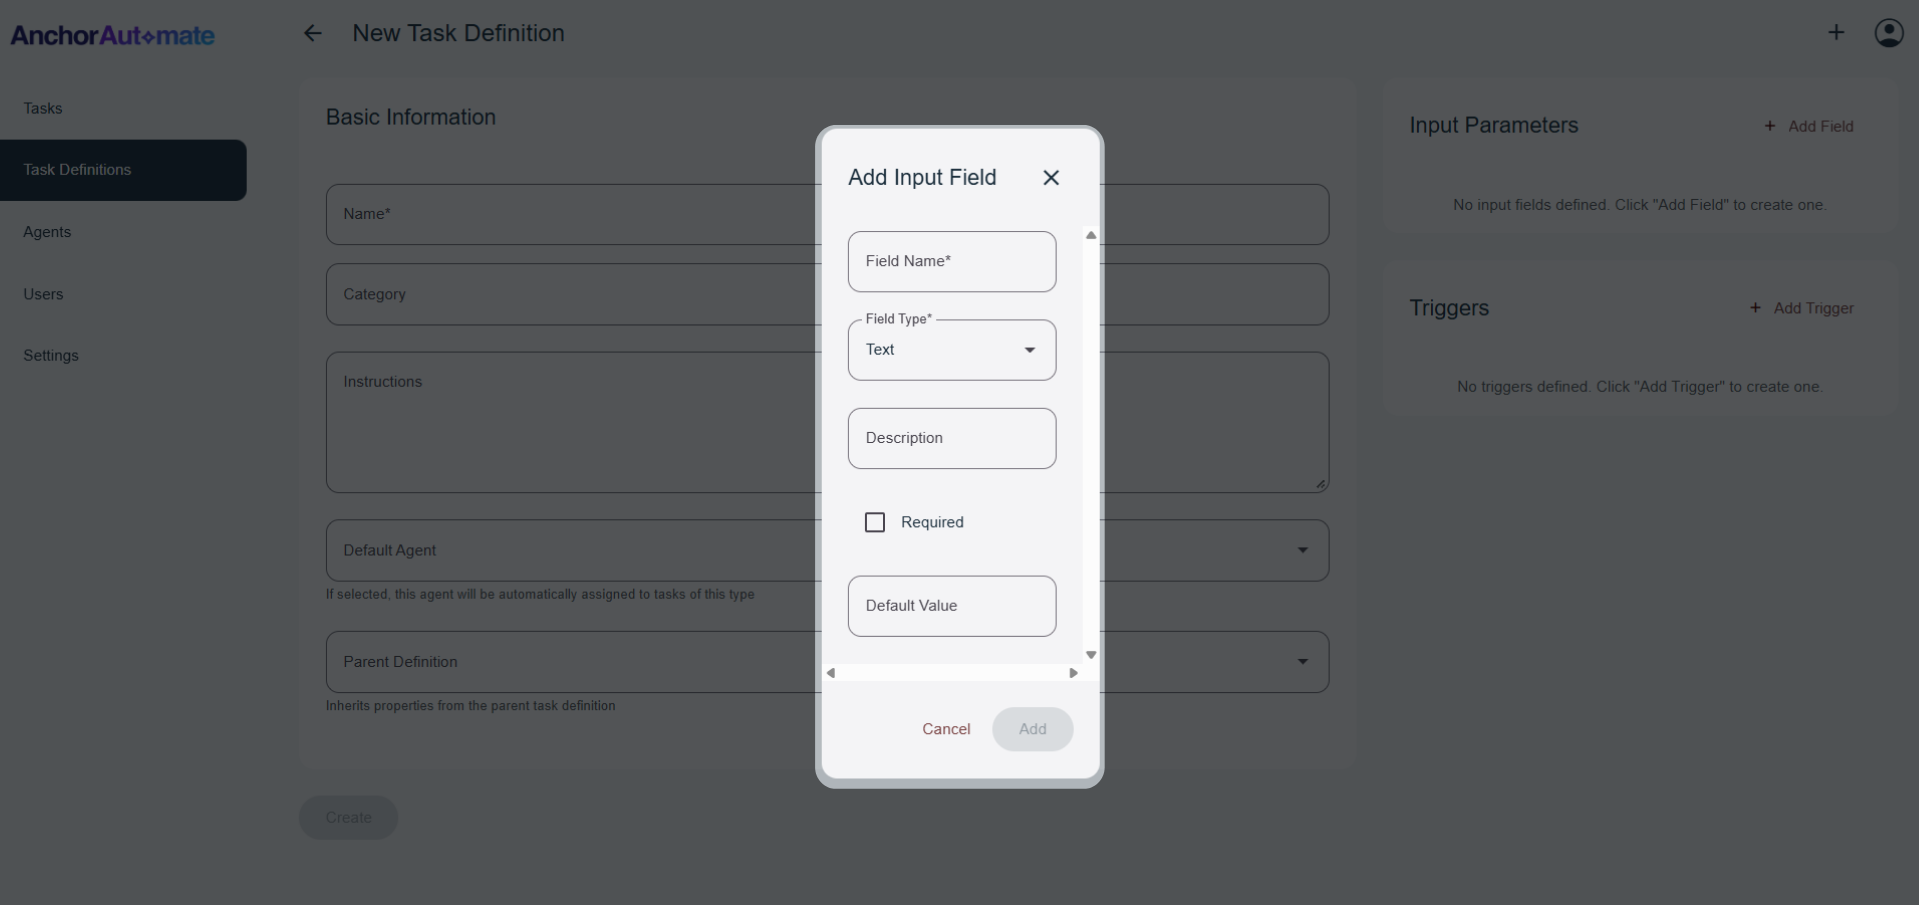
Input Parameters
Input parameters define the fields your task needs in order to run. These are the inputs your agents will reference during execution.
Each parameter includes:
- Field Name – Example:
order_number - Type – Such as
Text,Boolean,Number, etc. - Description – Explains the purpose of the field.
- Required – A checkbox to indicate if the parameter must be provided before the task can run.
- Default Value – (Optional) Fallback value if none is provided.
This section ensures your task is flexible and dynamic, while also enforcing important inputs when needed.
Example – Input Parameters
| Field Name | Type | Description | Required | Default Value |
|---|---|---|---|---|
recipient_email | Text | The email address of the person who will receive the encouraging message. | ✅ | |
recipient_name | Text | The full name of the recipient, used for personalization. | ✅ | |
message_subject | Text | The subject line for the email. | ✅ | You've Got This! 💪 |
message_body | Text | The main body of the encouraging message. Can include placeholders like {{recipient_name}}. | ✅ | Hi {{recipient_name}},\n\nJust a reminder that you're doing amazing things. Keep going!\n\n— MotivationBot |
send_time | DateTime | The exact time to send the email. | ❌ | Now |
include_quote | Boolean | Whether to append a random motivational quote at the end of the message. | ❌ | True |
Triggers
Triggers let you control when the task runs automatically. You can choose from:
1.) Scheduled Triggers
Scheduled triggers allow time-based task execution. You can choose between two scheduling types:
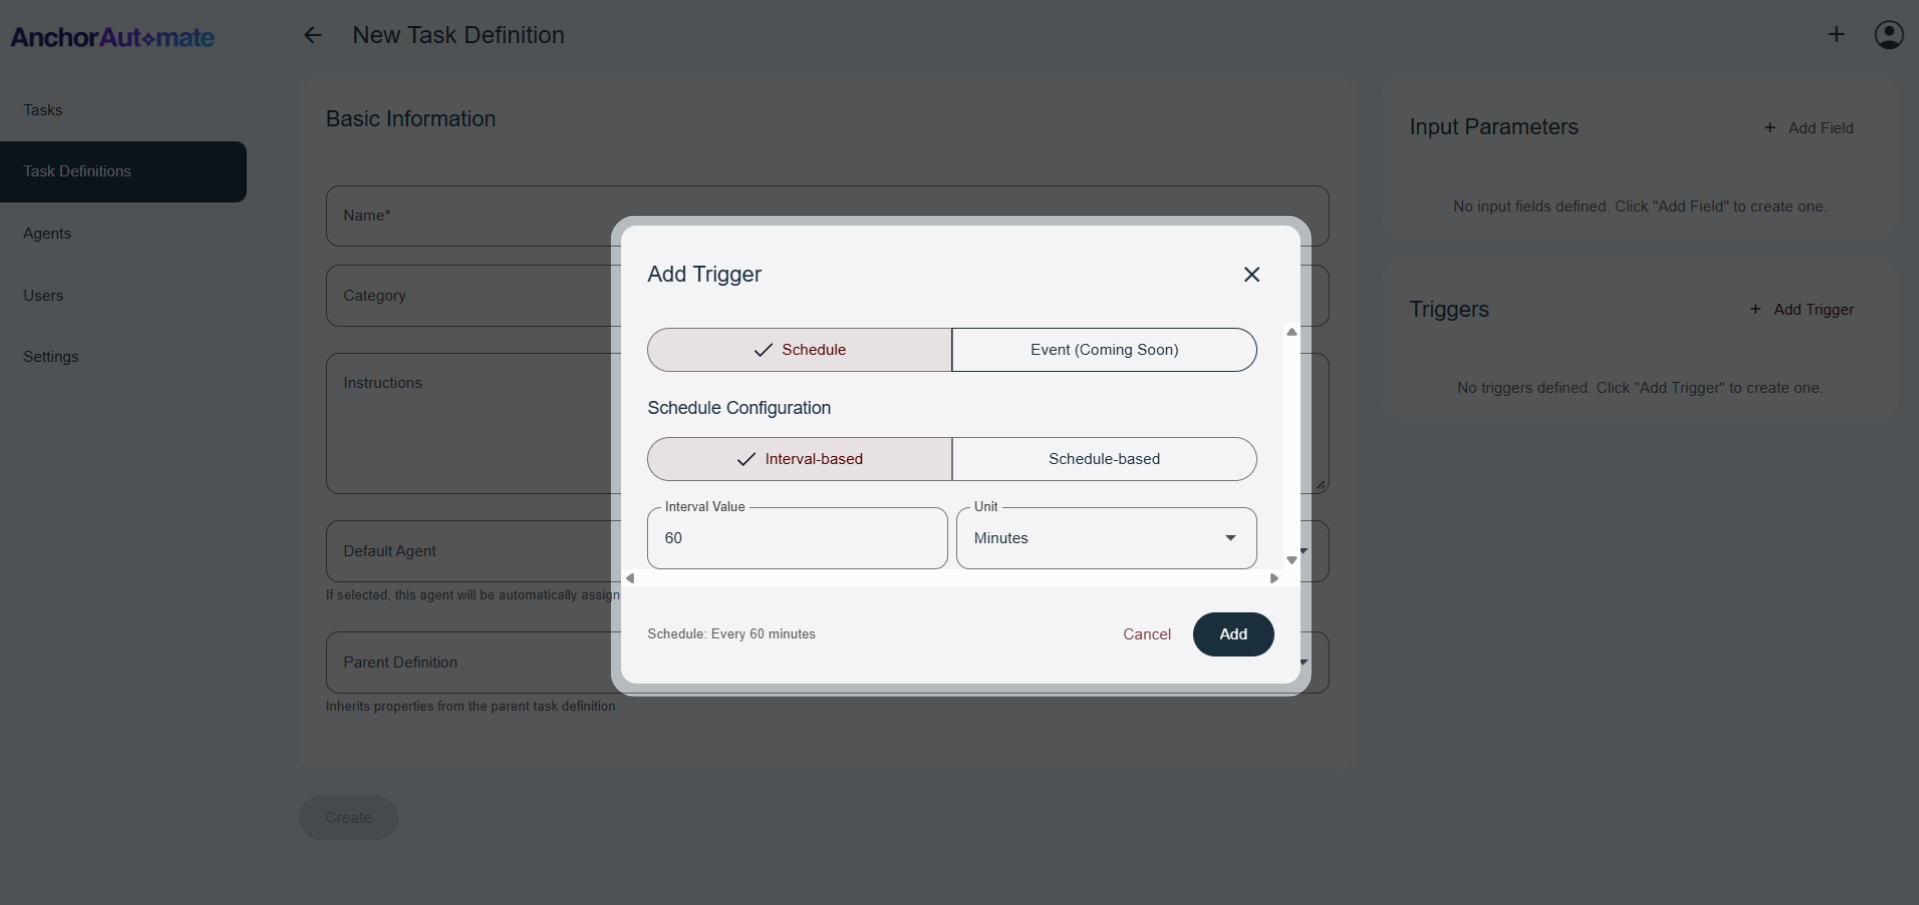
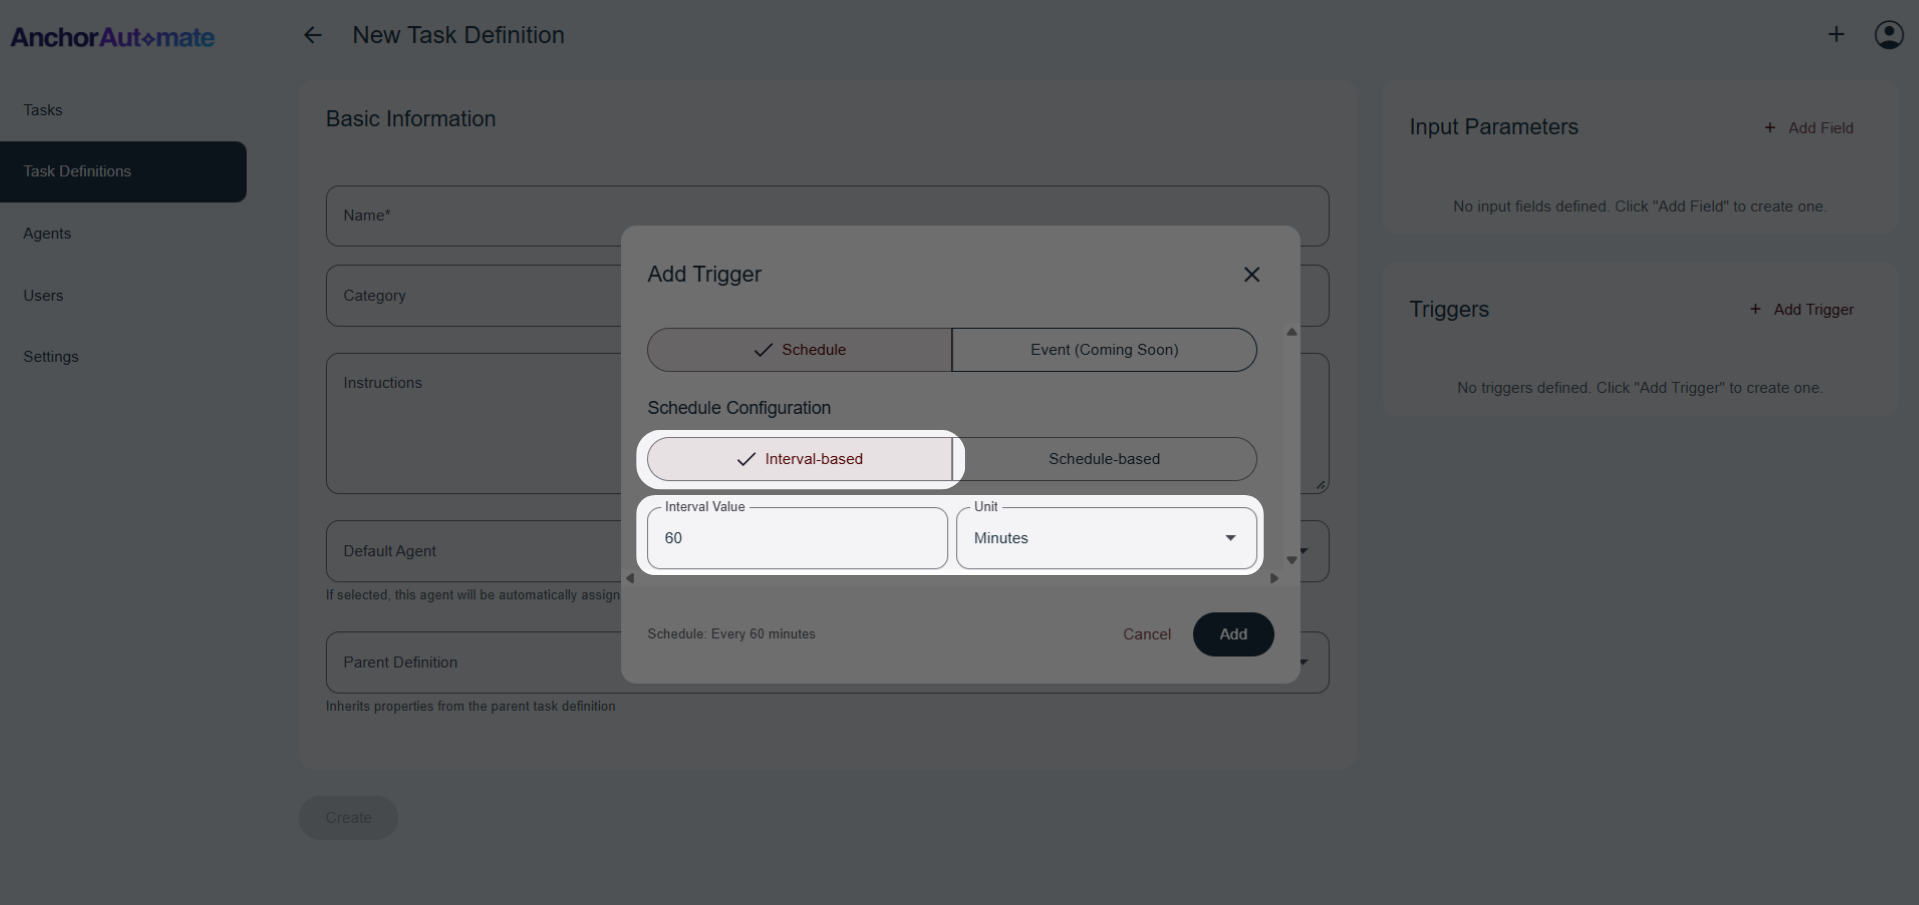
1.) Interval-Based
Run the task every X minutes, hours, days, or weeks.
- Set:
- Interval Value – e.g.,
15 - Interval Unit – minutes, hours, etc.
- Interval Value – e.g.,
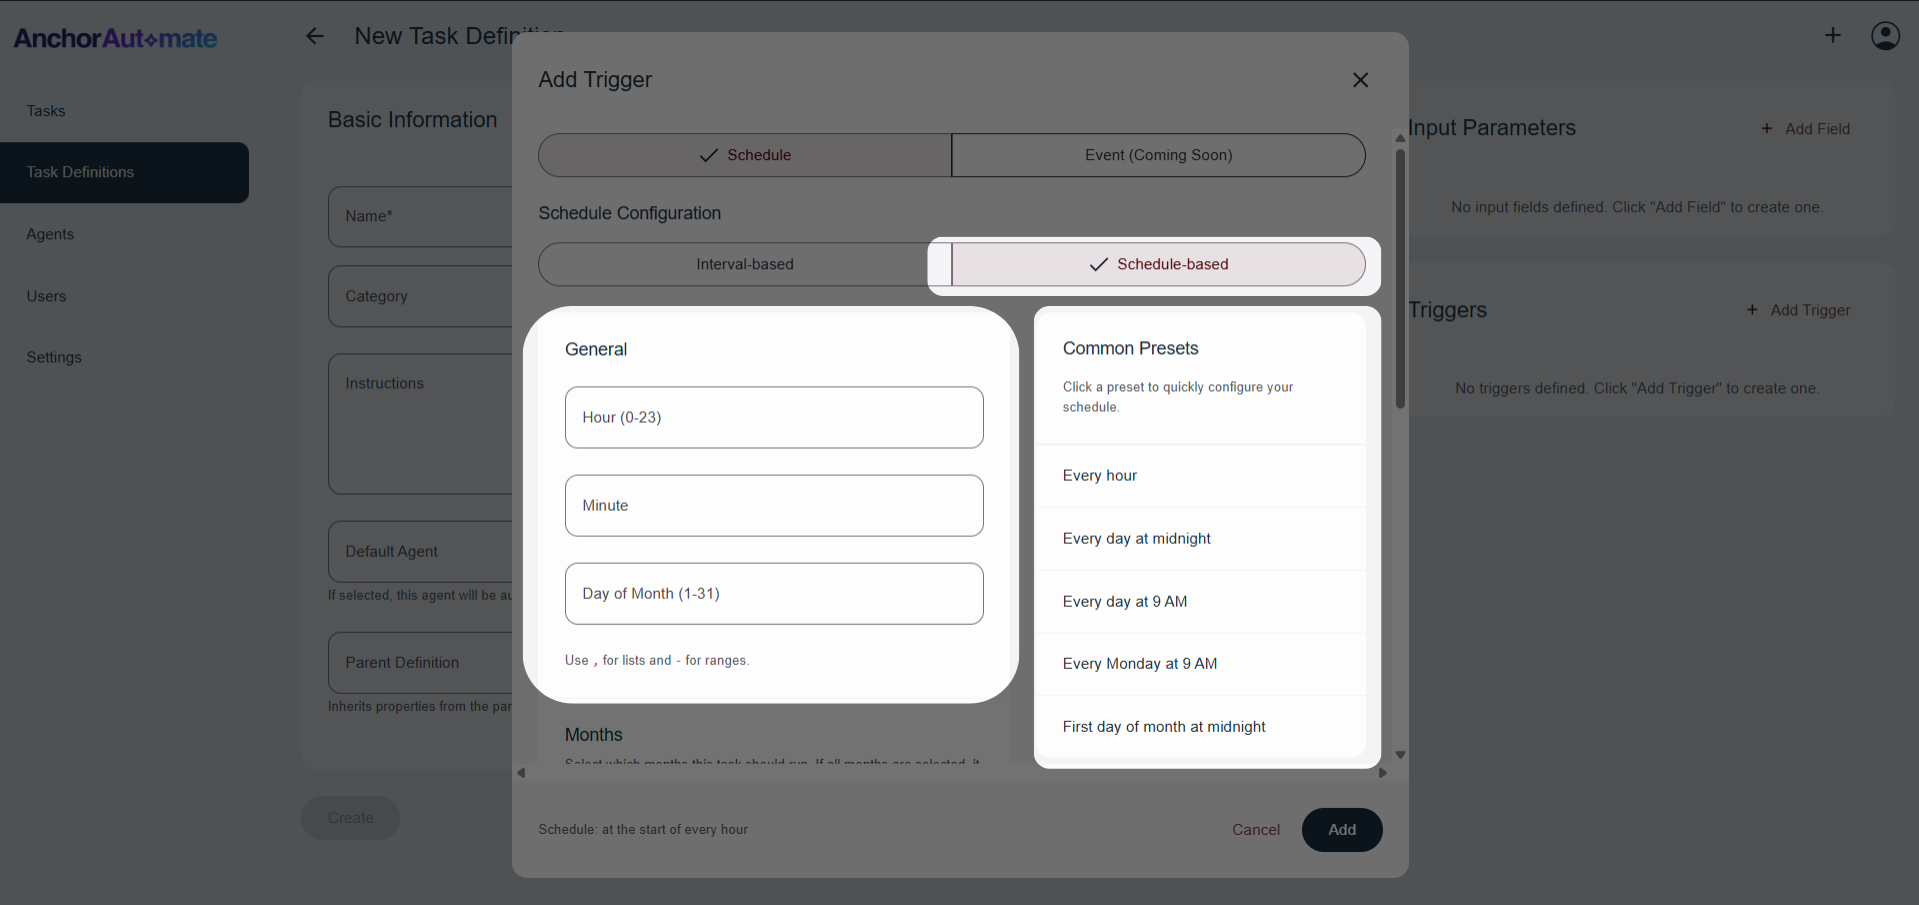
2.) Schedule-Based
A more advanced option for setting custom schedules.
General Settings
- Hour (0–23) – The hour the task should run.
- Minute – The minute of the hour to run the task.
- Day of Month – Specific days the task should run (use
,for lists and-for ranges).
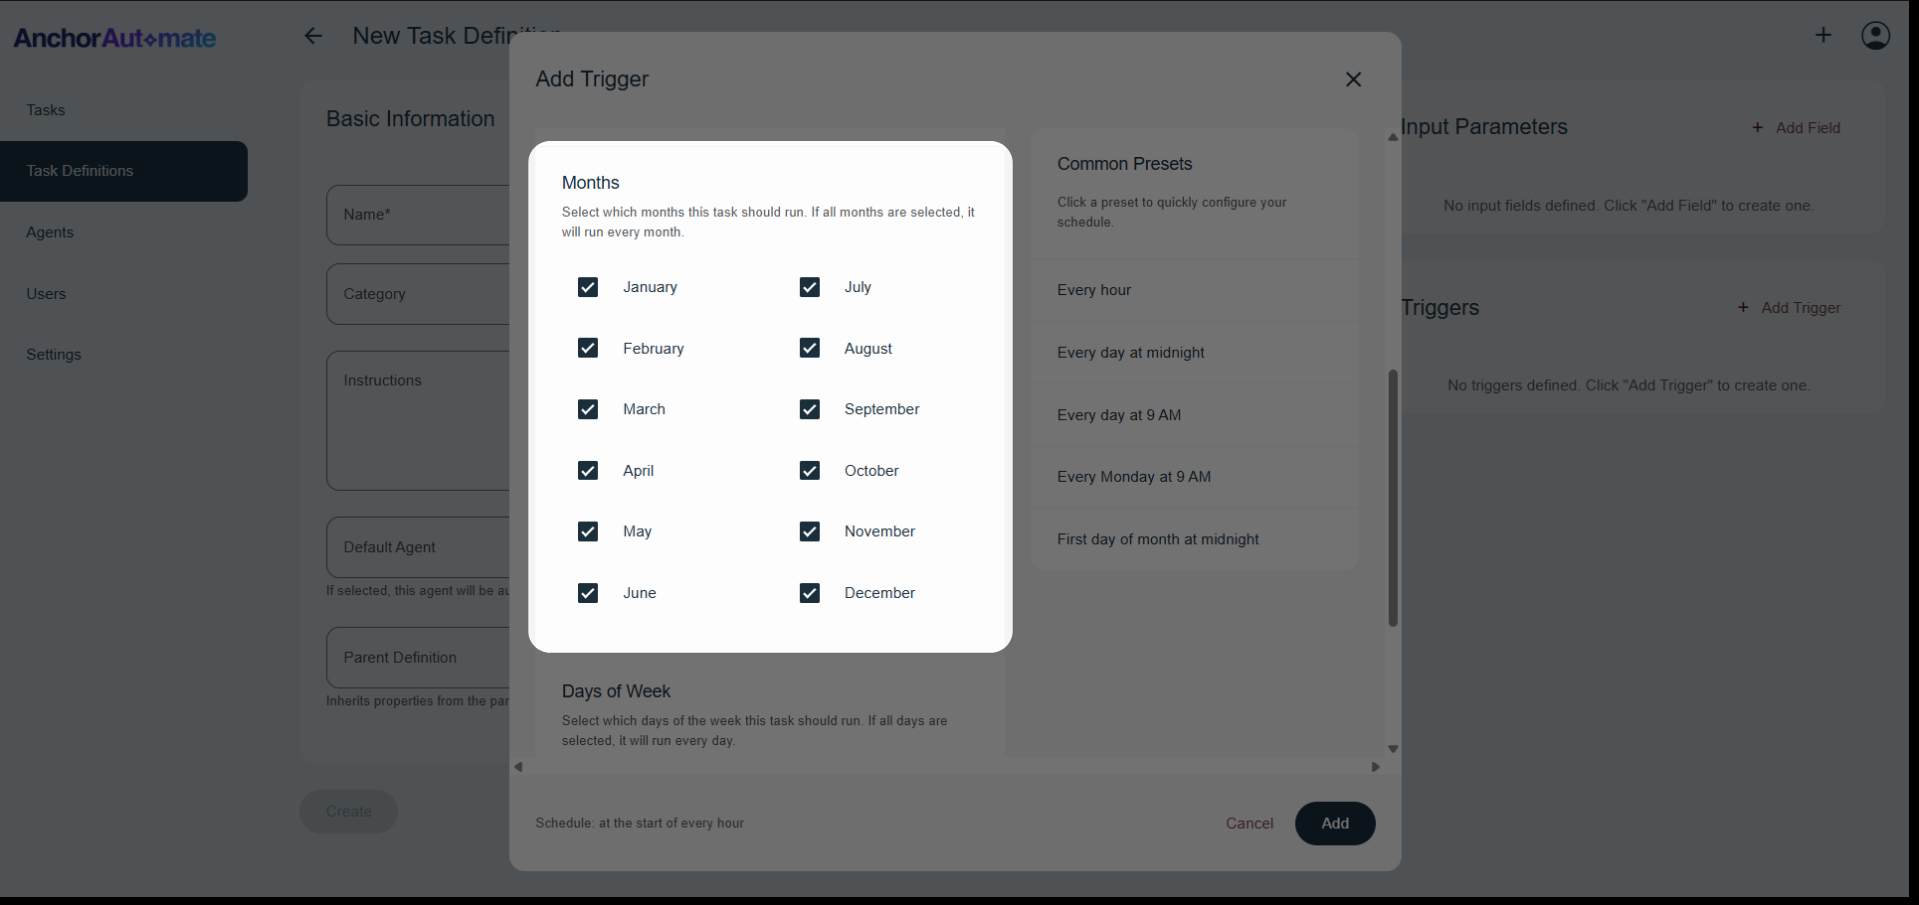
Common Presets
Quickly apply frequently used schedules:
- Every hour
- Every day at midnight
- Every Monday at 9 AM
- First day of the month at midnight
Months
Select which months to run the task (checkboxes available).
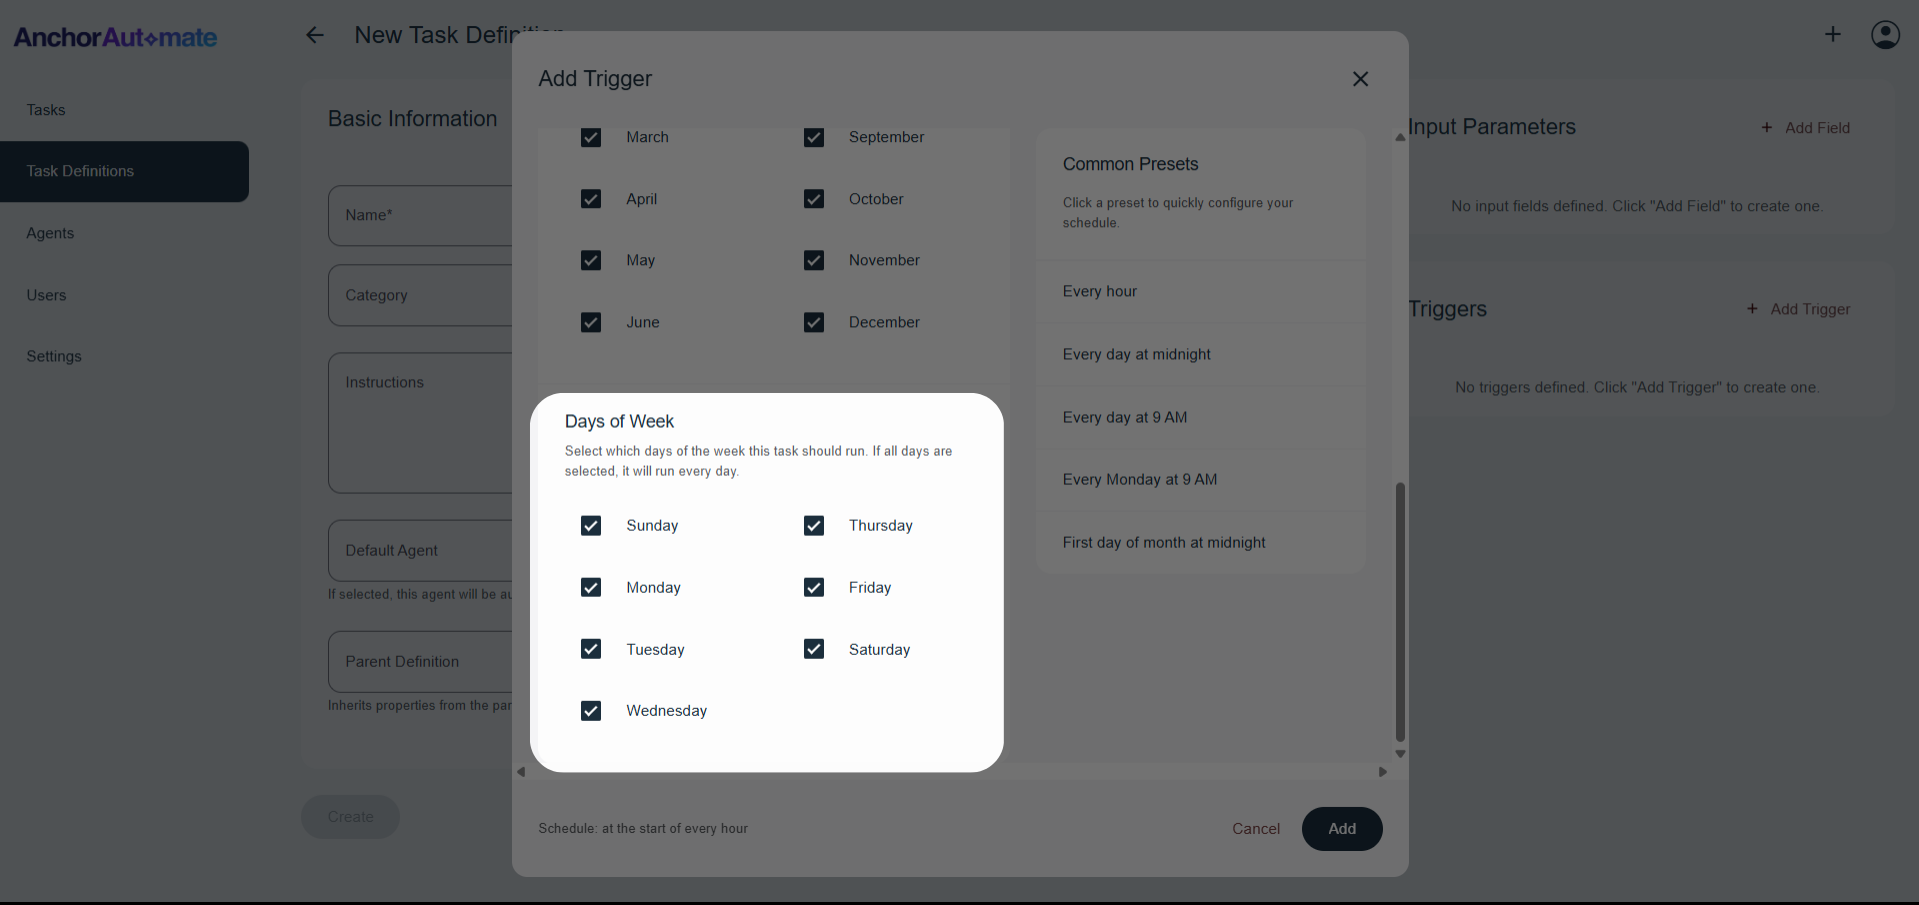
Days of the Week
Choose specific weekdays for the task (checkboxes available).
2.) Event-Based Triggers
This feature is currently in development and will be available in a future release. The information below describes the planned functionality.
Trigger tasks based on system events or external integrations. Useful when responding to things like new data, webhooks, or app events.
App Permissions
This feature is currently in development and will be available in a future release. The information below describes the planned functionality.
App permissions define what external applications or services a task can interact with. When creating a Task Definition, it’s important to specify which apps the task is allowed to control or access. This ensures tasks only perform actions within authorized boundaries. Each app function can be set to one of three permission levels:
- Disabled – The app cannot perform the action. Use this to block risky or sensitive operations.
- Approved – The app can perform the action automatically without human intervention, suitable for safe and trusted workflows.
- Requires Approval – The app requests human approval before performing the action, ensuring oversight for important tasks.
⚠️ Default Recommendation: Use Requires Approval for new apps or tasks until you are confident in the app’s behavior. Only switch to Approved for trusted actions.
For more information on configuring app permissions, see the Controlling Apps section.
Once you've configured everything, click Create to finalize your Task Definition.
You're now ready to begin automating workflows!
