Quick Start
Get up and running with AnchorAutomate in just a few minutes. Let's begin with signing up and logging in.
1. Sign Up
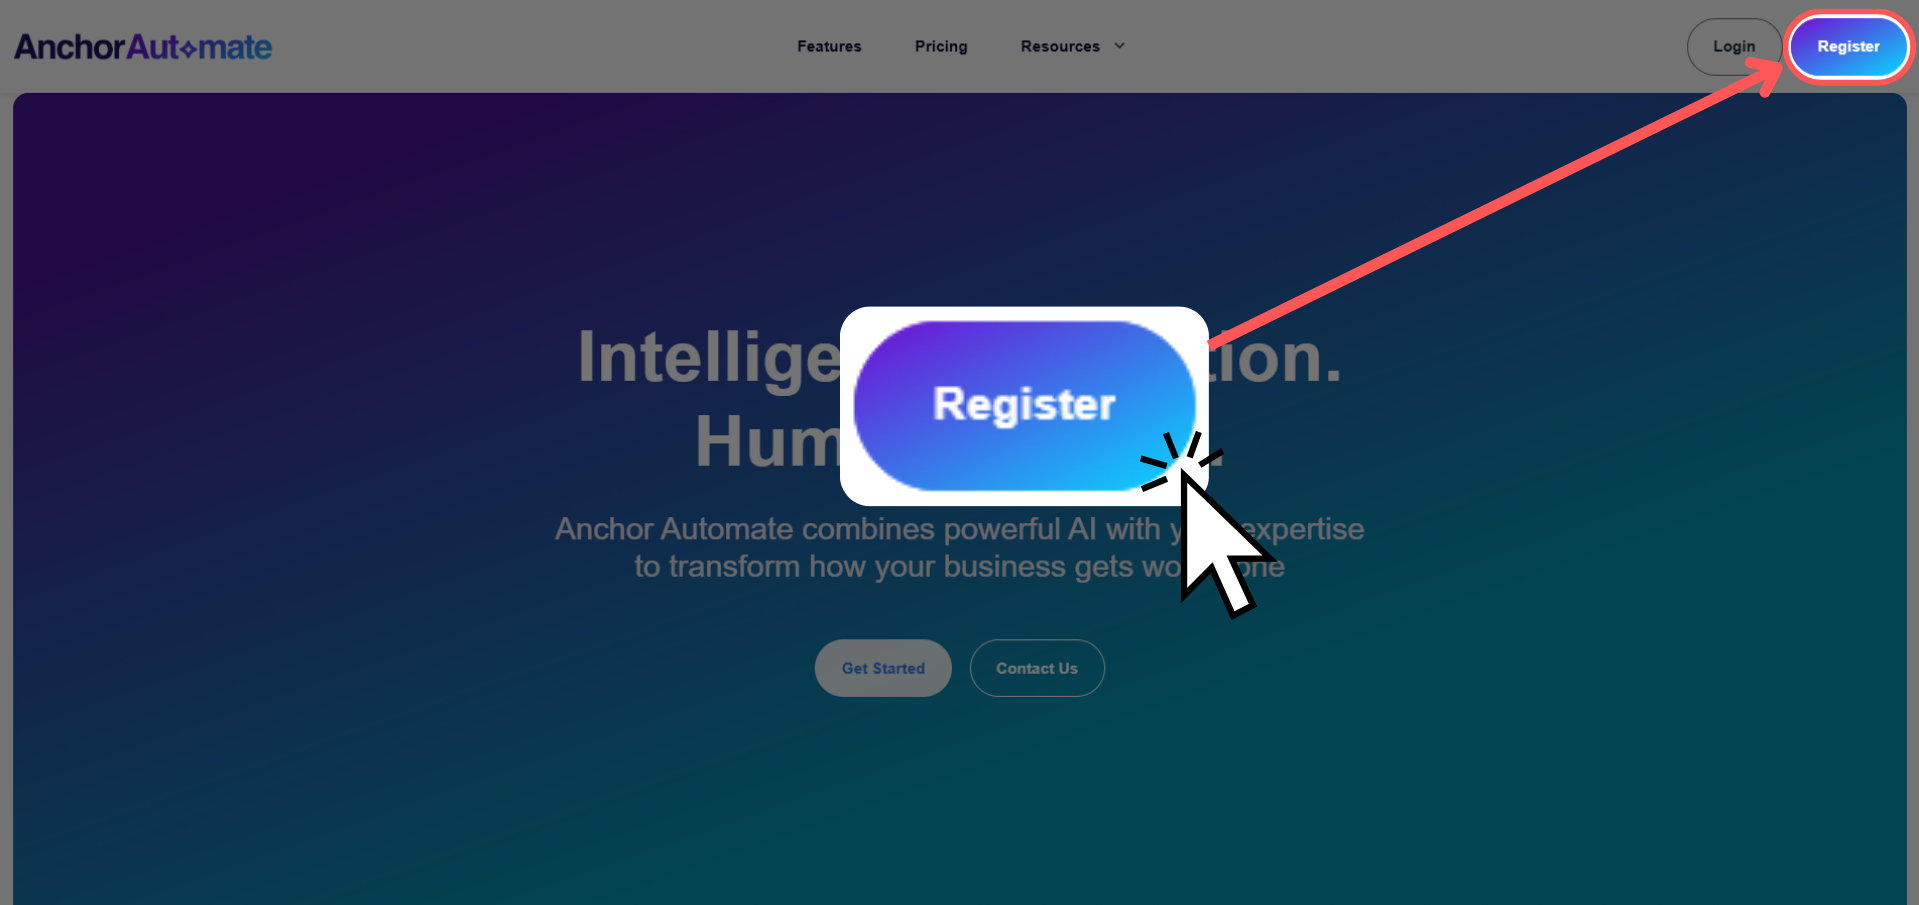
Step 1: Click Register
To create a new account, head to the landing page. Look to the top right corner and you’ll see the Register button. Go ahead and click it—you’re about to start your automation journey!
If you already have an account, you can skip ahead to the login section.
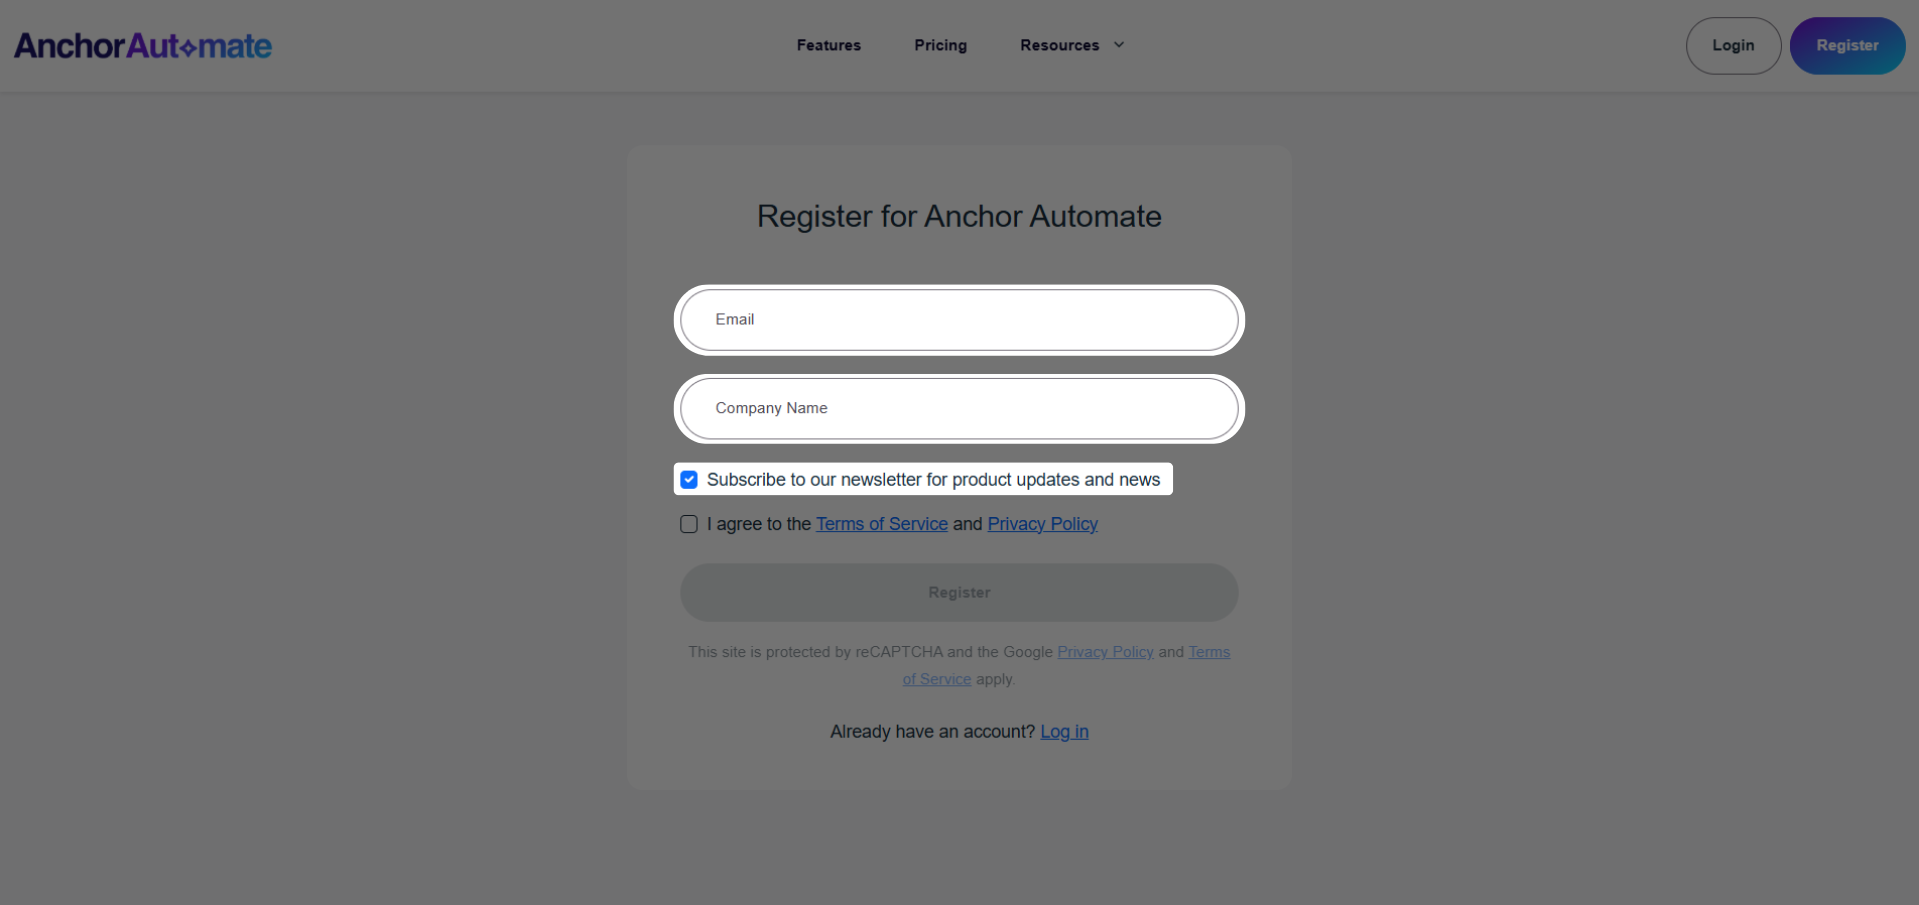
Step 2: Fill Out the Form
You’ll now see a form asking for your email and company name. Make sure to enter a valid email so you can verify your account.
If you want to stay updated on product releases and news, feel free to tick "Subscribe to our newsletter for product updates and news".
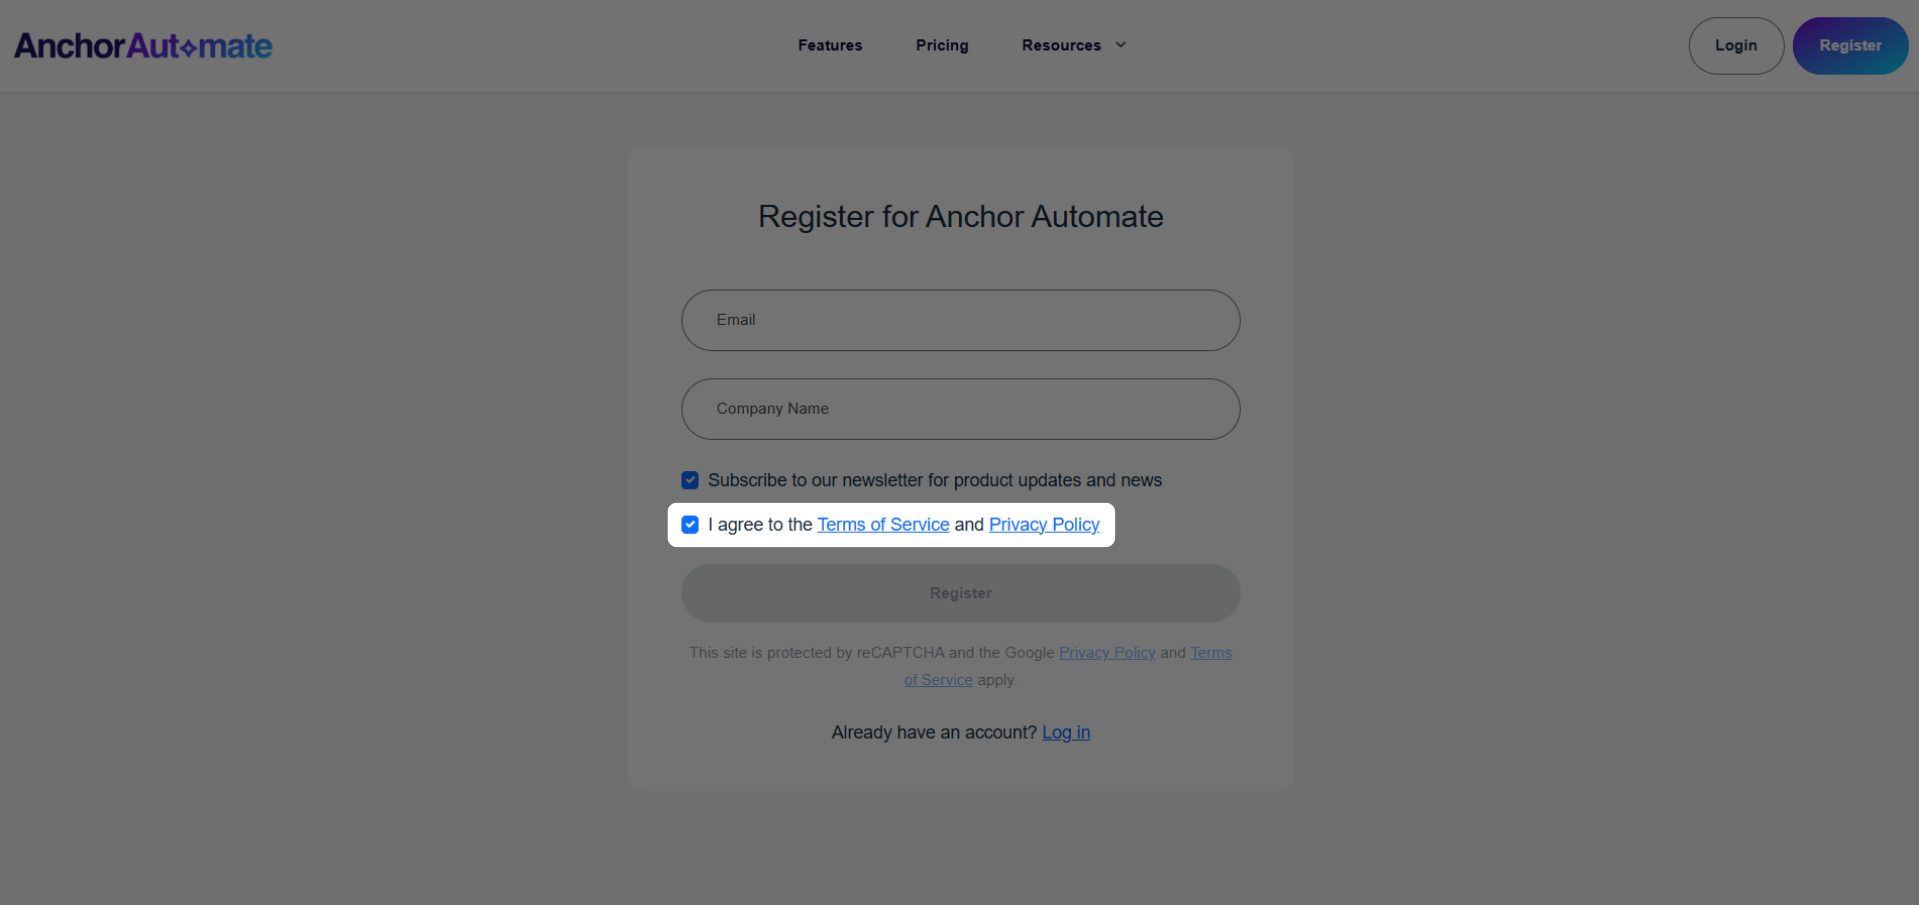
Step 3: Agree to Terms
Before creating your account, we need your consent for our Terms of Service and Privacy Policy. Simply read through them and tick the box to agree.
This ensures you understand how we handle your data and the rules for using AnchorAutomate.
You cannot create an account without agreeing to the Terms of Service and Privacy Policy. Make sure to read and tick the box to proceed with registration.
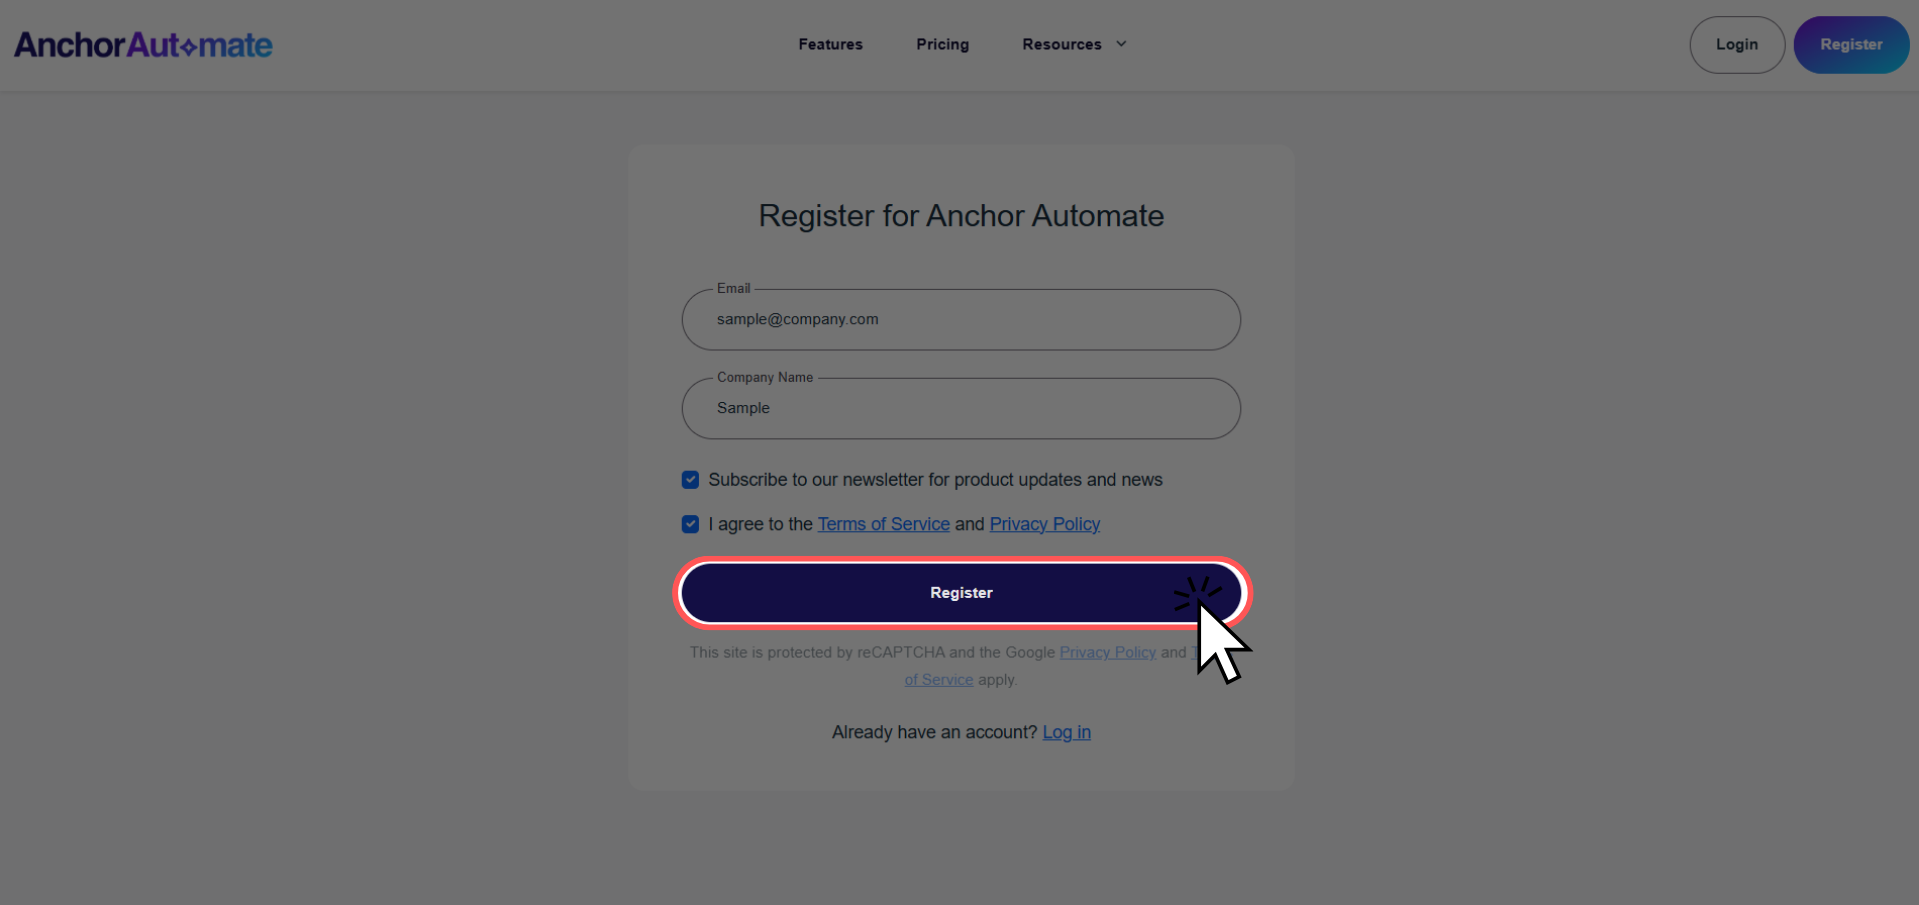
Step 4: Register and Verify Email
Finally, click the Register button at the bottom of the form. You’ll receive an email to verify your address—click the link inside to activate your account.
Now you’re officially ready to log in and start automating!
2. Log In
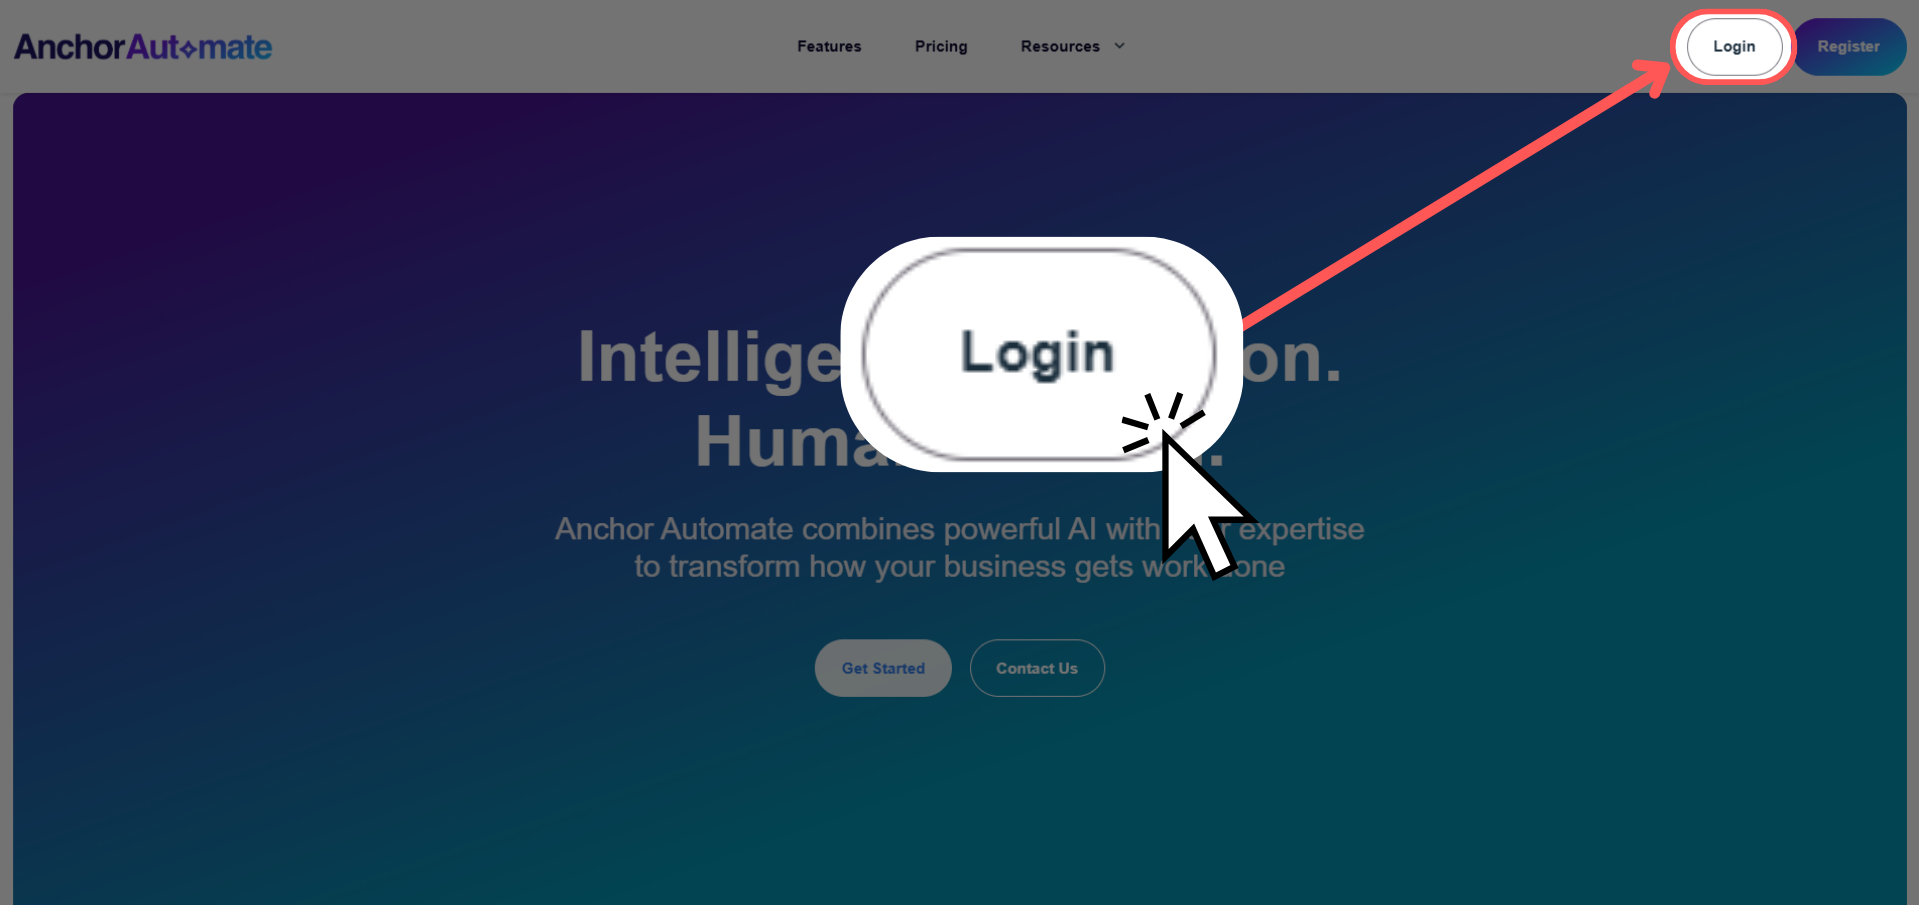
Step 1: Click Login
Back on the landing page, look for the Login button in the top right corner. Click it to open the login form.
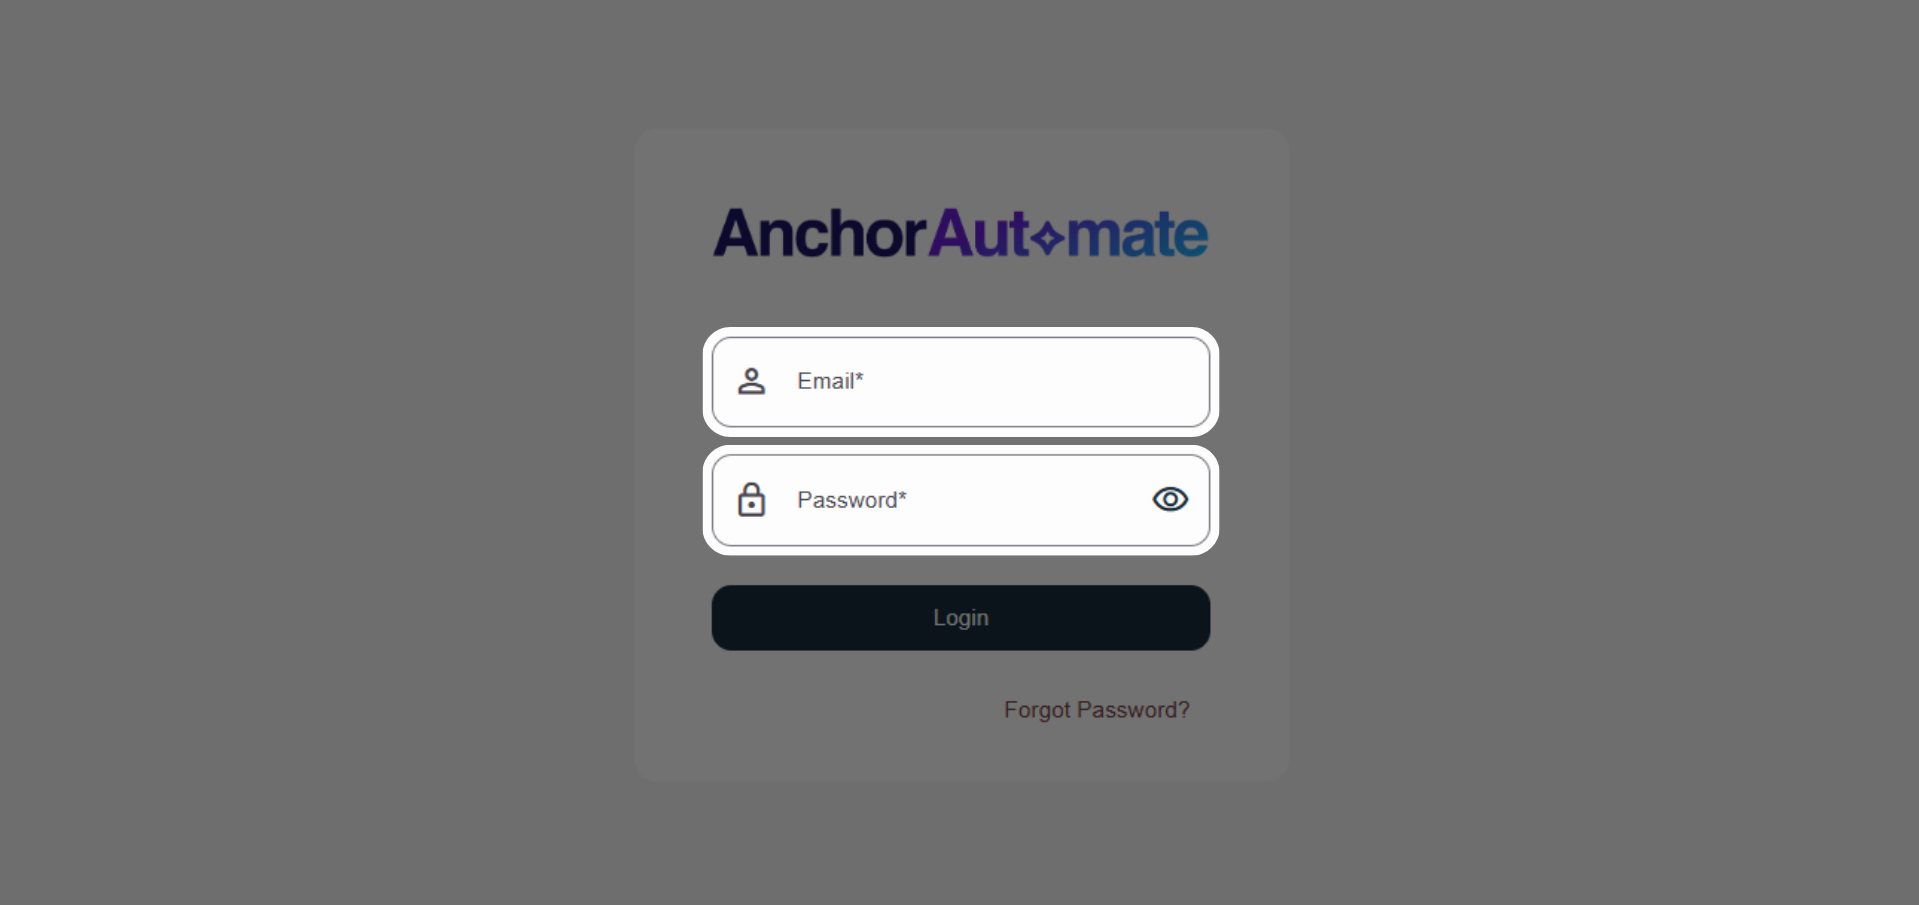
Step 2: Enter Credentials
Enter the email and password you used during registration. Double-check for typos so you don’t get locked out.
If you forget your password, you can reset it using the “Forgot Password?” link.
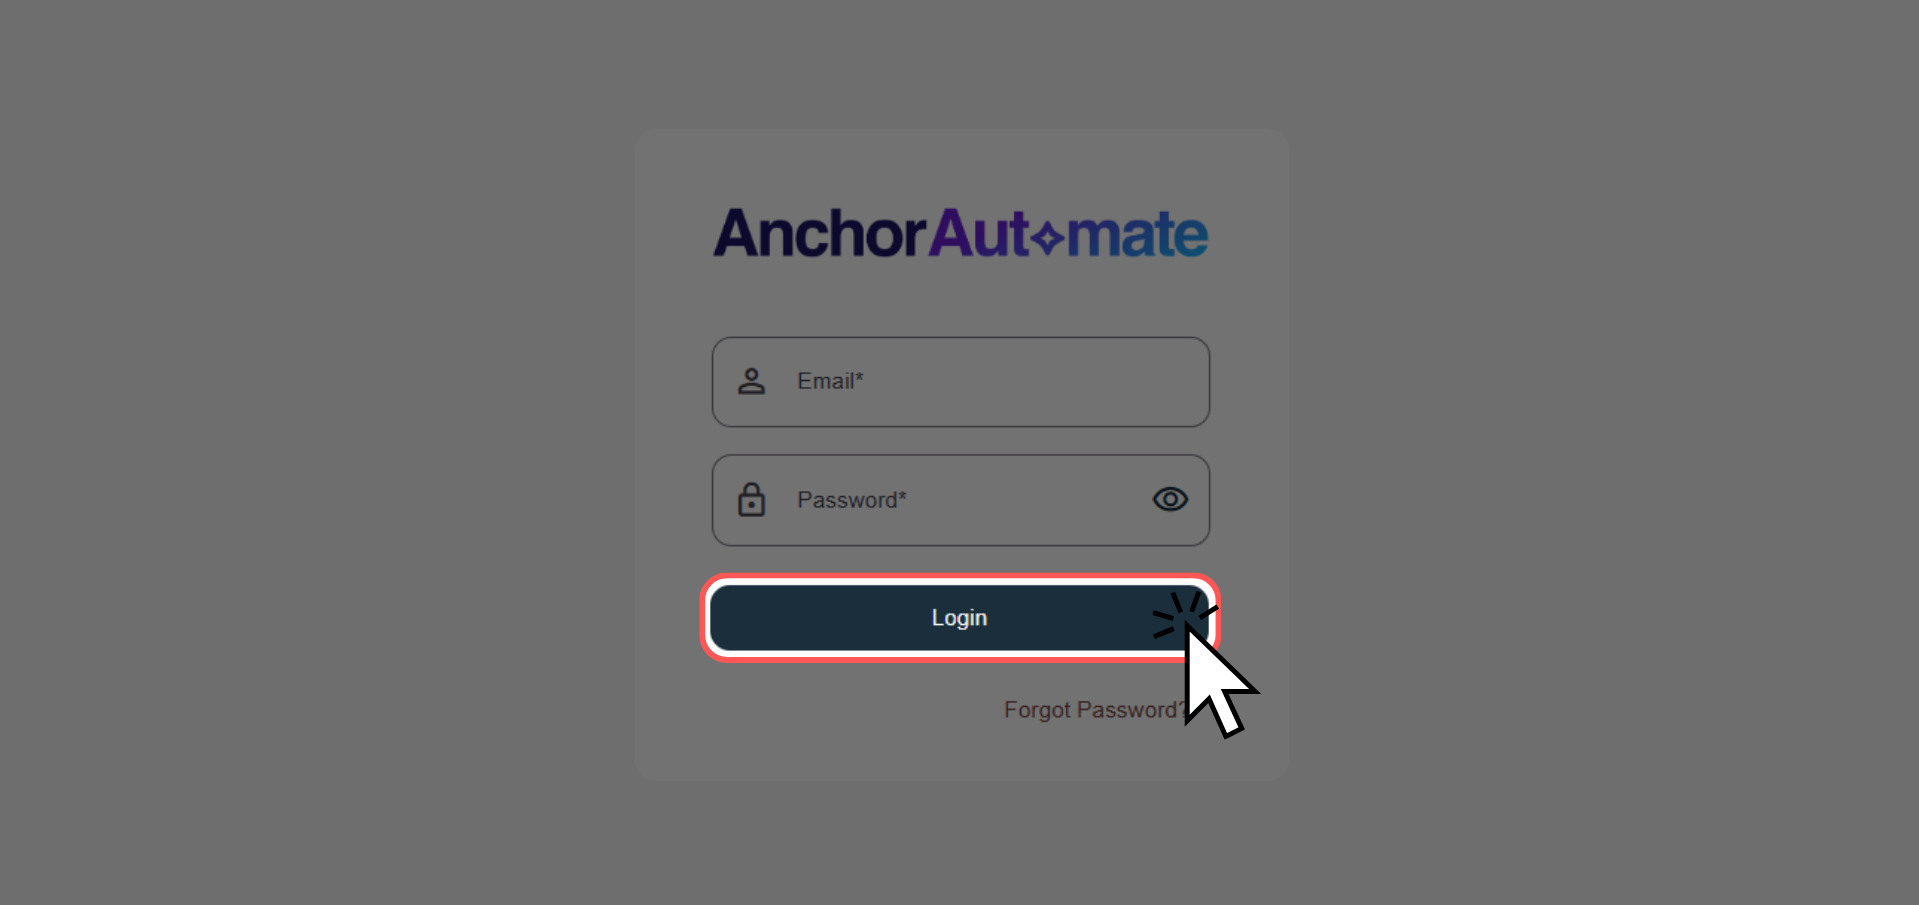
Step 3: Click Login
Once your credentials are filled in, click Login. Welcome aboard!
🎉 Congratulations! You are now logged in and ready to start automating.
3. Your Next Step: Create Your First Agent
Now that you’re logged in, the next step is to create your first agent. This is where the magic begins: your agent can perform tasks, connect apps, and automate workflows.
- Learn how to set up an agent here: Creating Agent
Once your agent is ready, you can explore connecting apps, defining tasks, and running automations in their respective guides.
Need Help?
- Join the community forum: community.anchorautomate.ai
